Writing your experiment
Finally, let's stimulate our participant!
Starting the development server
Your ROAR app is ready to go out of the box. Let's start the development server to see what the experiment looks like in the browser.
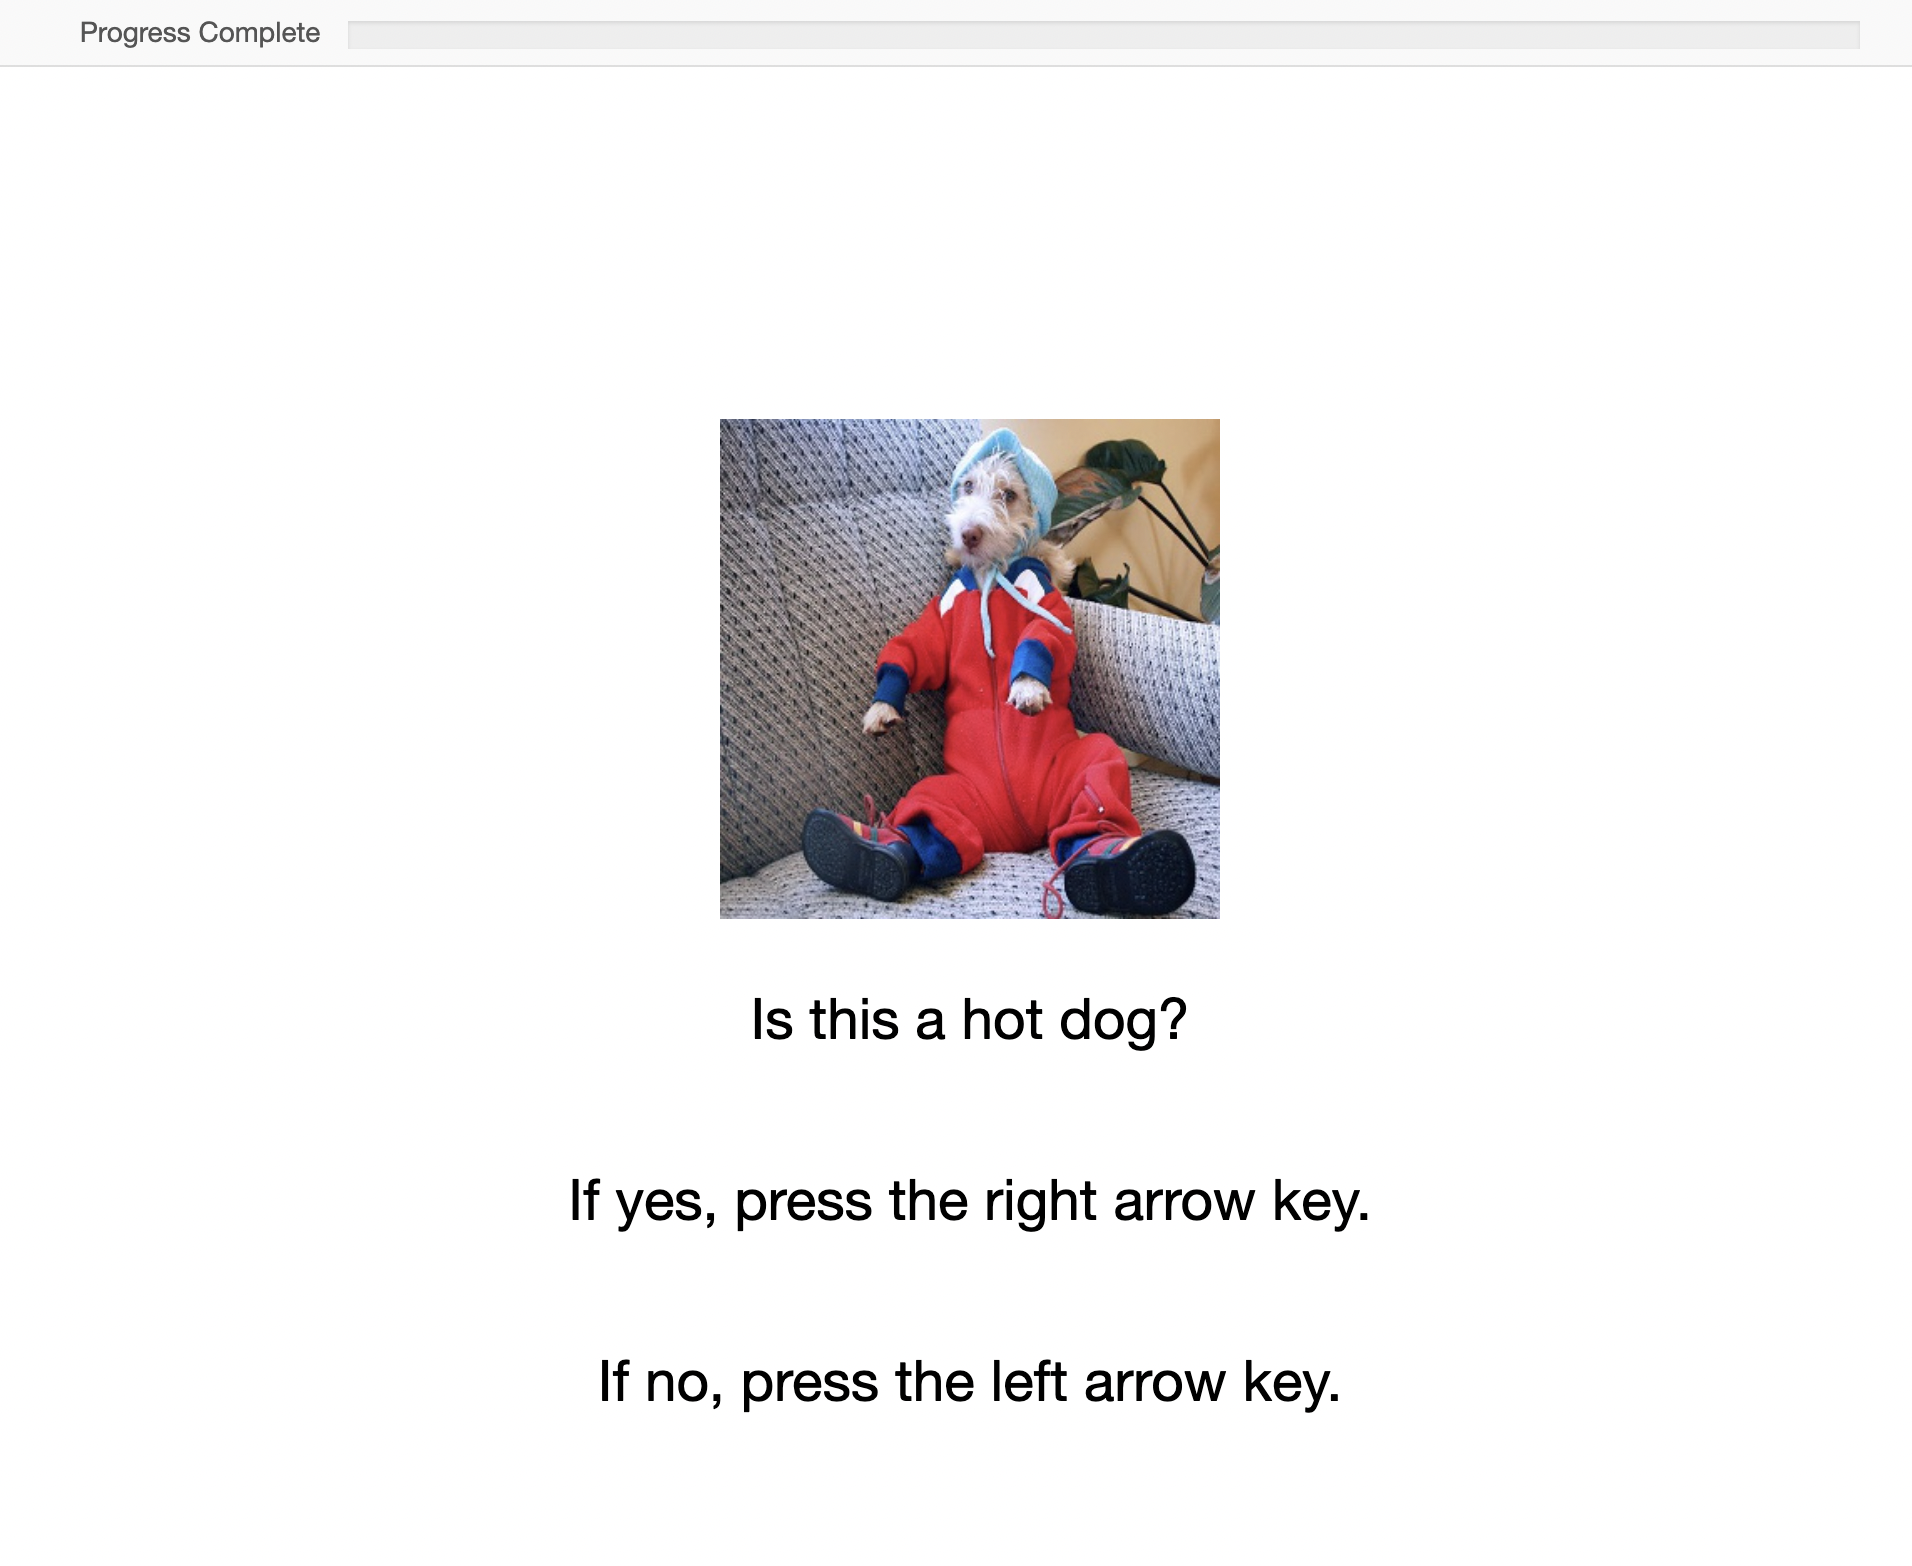
This will automatically open a new browser tab with your experiment. It should look something like the experiment hosted here:
However, you're experiment will automatically update when you make changes to your source code.
Adding another block of stimuli
Let's pretend that we want to add a new block to our experiment where we ask the participant to further differentiate between cats and dogs. Let's implement that structure now by first adding images of cats and dogs and then editing the experiment's source code to include those new images.
Adding more images
The first step in creating our new block is hosting the images of dogs and cats that we will use as stimuli. Download these images to your computer
We will demonstrate two different ways to host images: we'll host the cat images along side your experiment and the dog images in a public google cloud storage bucket.
Hosting images alongside your experiment
First download the cat images zip file. Assuming that this file was downloaded to ~/Downloads, do
# Make a folder for the cat images
mkdir -p src/assets
# Navigate to that folder
cd src/assets
# Move the downloaded zip file to this folder
mv ~/Downloads/cat.zip .
# Unzip the file
unzip cat.zip
# And delete the zip file
rm cat.zip
cd ../..
Now edit the src/loadAssets.js file to load these new cat images. You can add individual files simply by importing them as variables and then referencing them in your code. For example
And don't forget to commit your changes into git.
Hosting images using a cloud storage provider
The above method of hosting image assets alongside your experiment is fine if you only have a few files. But it can become cumbersome to import each file separately if you have a lot of assets. Rather than hosting your files with your website, you can upload them to a cloud storage provider and access your files using a URL. To demonstrate, we have already uploaded the dog images to a Google Cloud Storage bucket. In fact, it is the same bucket that already hosts the hot dog vs. not hot dog images. You can see the images here (1, 2, 3, 4, 5).
Two popular cloud storage service providers are Google Cloud Storage (GCS) and Amazon Simple Storage Service (S3). To upload your own images and make them publicly available, follow these instructions:
- Create a storage bucket (GCS instructions, S3 instructions)
- Upload objects to the bucket (GCS instructions, S3 instructions)
- Make the data public (GCS instructions, S3 instructions)
Then we can add references to the dog image URLs like so
Edit the src/loadAssets.js file to include the dog image URLs
Making sense of the above javascript
If the above line of javascript for dogFiles doesn't make sense to you, let's break it down into its components:
Array(numFiles)
// Yields [ <5 empty items> ] since numFiles = 5

Array.from(Array(numFiles), (_, i) => i + 1)
// Yields [ 1, 2, 3, 4, 5 ]

// And Finally
Array.from(Array(numFiles), (_, i) => i + 1).map(
  (idx) => `https://storage.googleapis.com/roar-hot-dog-images/dog/${idx}.jpg`,
);
// Yields
// [
//   'https://storage.googleapis.com/roar-hot-dog-images/dog/1.jpg',
//   'https://storage.googleapis.com/roar-hot-dog-images/dog/2.jpg',
//   'https://storage.googleapis.com/roar-hot-dog-images/dog/3.jpg',
//   'https://storage.googleapis.com/roar-hot-dog-images/dog/4.jpg',
//   'https://storage.googleapis.com/roar-hot-dog-images/dog/5.jpg'
// ]
By using the map method, we were able to write the URL pattern just once, following the DRY principle. We use the map method again to convert the raw URLs in the dogImages array to HTML image tags in the block2Targets array.
Adding a block of stimuli to index.js
Now that we have established references to our new cat vs. dog images, let's create the new block of stimuli. We'll introduce this first by adding only one single stimulus. and then we'll use the same code to add an entire block of stimuli using jsPsych's timeline variables.
Adding a single stimulus
We will add the first stimulus in the block2Targets array.
Edit the src/index.js file to include a new instruction set and the new stimuli.
At the top of the file, add the following imports
| src/index.js | |
|---|---|
Then, a little bit later in the file, add
Adding a block of stimuli
We just added one single stimulus. It would be really annoying to have to write all that code over and over just to add the next nine stimuli for this block. Luckily, jsPsych has timeline variables to make this easier. In fact, the hot dog vs. not hot dog block already uses this technology. Let's add the other dog vs. cat stimuli using timeline variables with random sampling.
Edit the catVsDogTrials in the src/index.js file so that it reads:
Ending the experiment
We've added the second block of stimuli. Right now, the experiment abruptly ends after the last stimulus. It's a good idea to let your participants know that they've finished the experiment. Let's add one last trial telling the participant that they are done.
Add one more trial and push it to the timeline before the exit_fullscreen trial.
How to properly end your assessment
Be sure to give your participant concrete instructions for how to end the assessment. In this case, we told them to "press any key to finish the assessment." If you don't, then the participant might think that they are done and simply close the browser tab. Why is this bad? Although all of the trial information will be saved in the database, the assessment will not be counted as finished (either in the database or in the participant dashboard) because the jsPsych timeline did not complete.
If you want to use any of jsPsych's audio plugins (e.g., audio-button-response or audio-keyboard-response) to end the assessment
be sure to specify trial_ends_after_audio: true so that the experiment automatically ends after the last audio file is played.
Likewise, if you want to use any video plugins (e.g., video-button-response or
video-keyboard-response), be sure to specify trial_ends_after_video: true so that the experiment automatically ends after the last video.
The guiding principle here is to ensure that the jsPsych timeline ends before the participant closes their browser tab.
Advice for asset files
Please see Common Issues > Advice For Asset Files.